
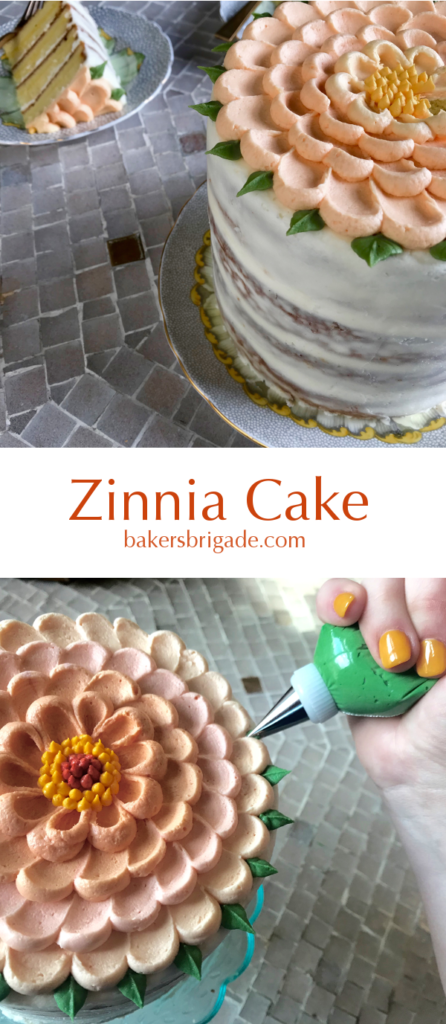
Dramatic enough for a special occasion but simple and quick. This is a great beginner project if you want to try your hand at cake decorating but don’t want to buy a whole bunch of equipment or take a class.
There are sugar artists out there who can transform dessert into a true work of art. Making cupcakes look like cactuses, cakes that look like Disney characters or pie tops so intricate they’re barely believable. I have two barriers to ever being in this league. Number one, I have nowhere near the skill required for so many of these amazing techniques. Two, I really want the things I make, first and foremost, to look like food. Beautiful, enticing, and fancy, but definitely food. So even after baking non-stop for five years, I have just a few tricks that I can pull out when it’s time to decorate a cake for a special occasion. This zinnia cake technique is my best and favorite cake decorating trick.
Forget Roses, Zinnias Are Where It’s At:
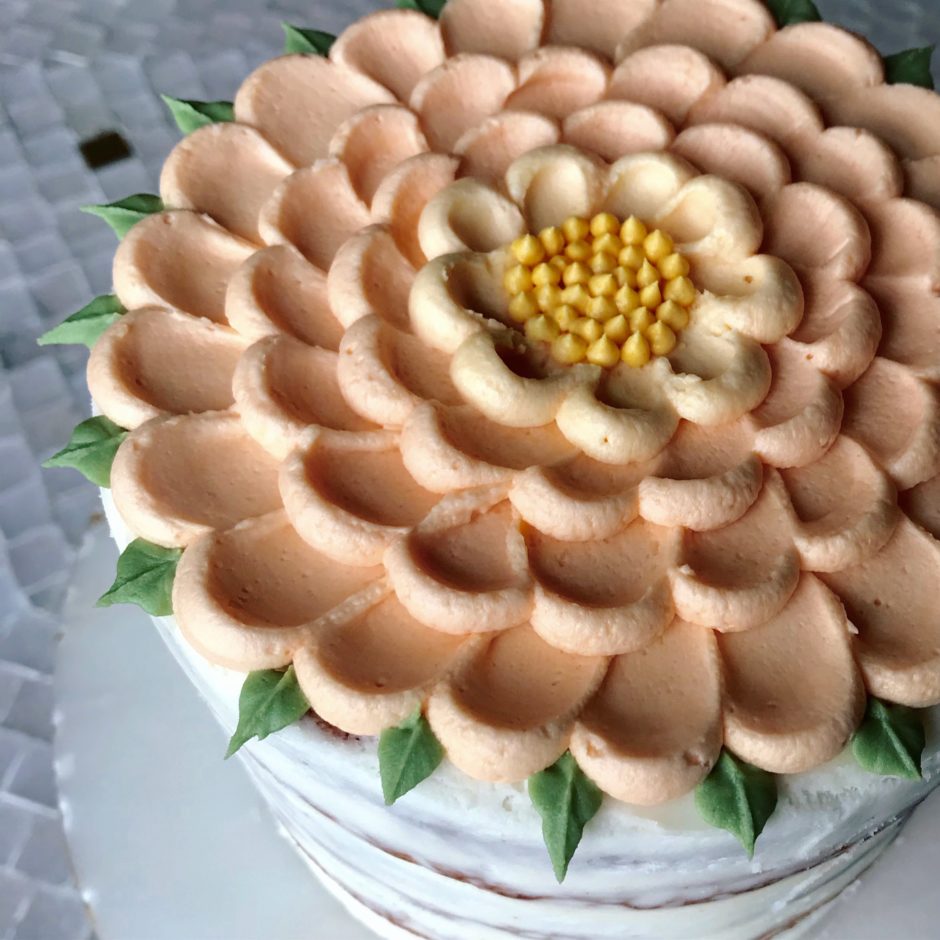
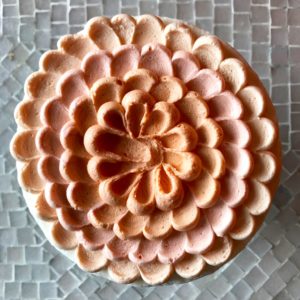
When I make tart tops I like to use a 1M star tip to pipe rosettes of whipped cream or buttercream on top. I’ve seen a lot of cakes decorated this way as well (google rose cake) but the few times I’ve tried it I’ve ended up with such a thick layer of frosting, the whole thing felt very heavy. So I put my thinking cap on and came up with this idea, a giant “zinnia” that covers the whole cake top. Dramatic enough for a special occasion but simple and quick. This is a great beginner project if you want to try your hand at cake decorating but don’t want to buy a whole bunch of equipment or take a class. For this project you need an offset spatula, some ziplock bags, and a leaf tip.
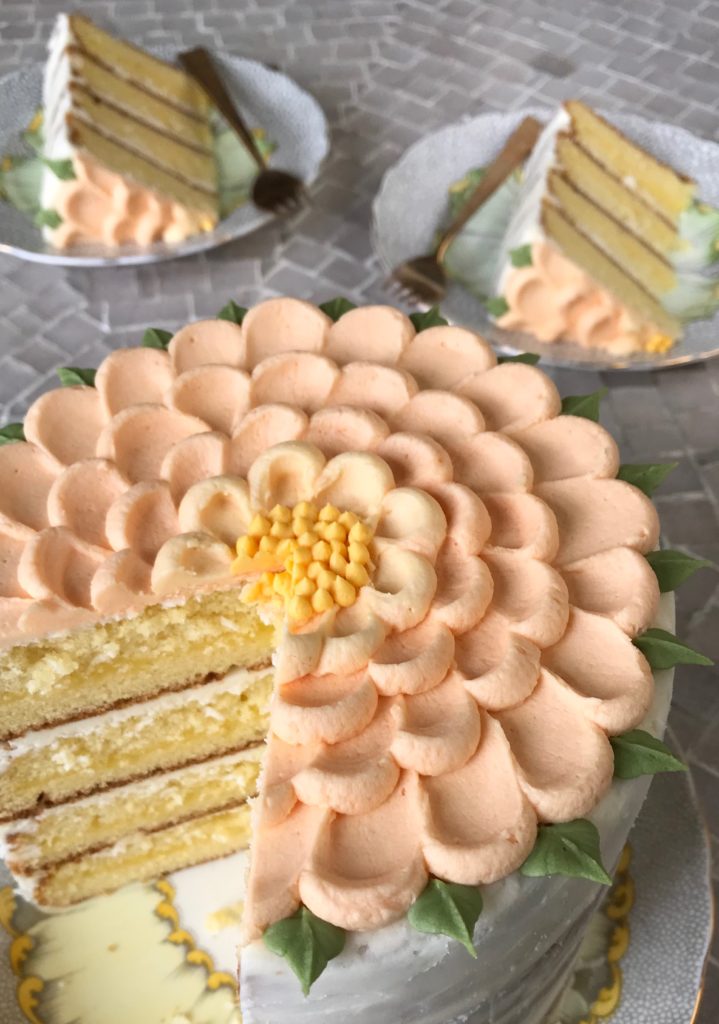
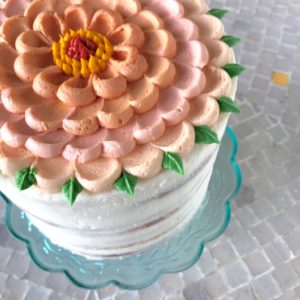
You can use this technique in a bunch of different ways. Try a few smaller flowers on the top and sides, frost the sides completely or try a semi-naked cake. You can use any frosting you want. This Crusting Cream Cheese Frosting and Fluffy Vanilla Buttercream are my faves. You can fill the layers with lemon curd, rhubarb curd, or fresh fruit. I made one of these for Easter and my birthday and plan to make one (or three!) for Mother’s Day too. They are that easy and pretty.
Here’s how it works:
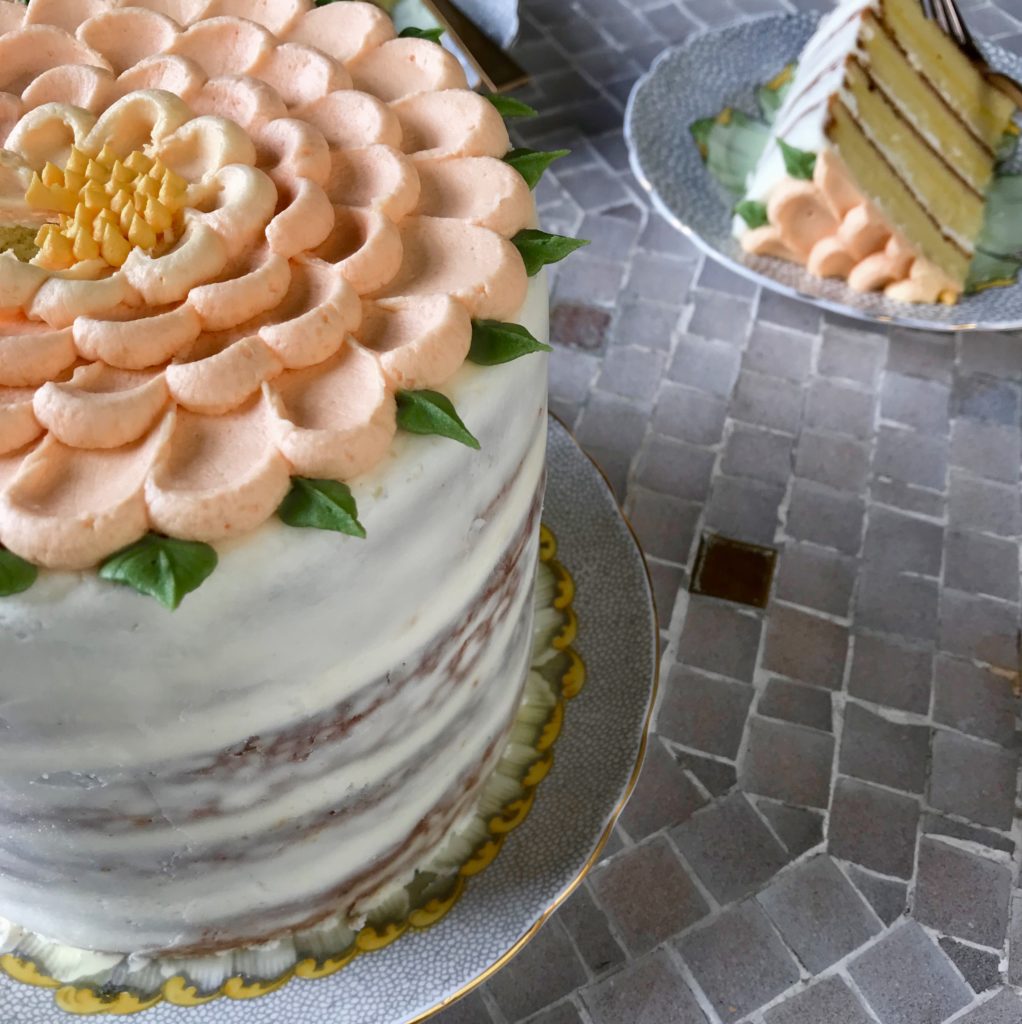
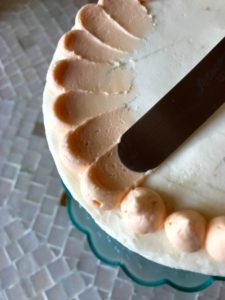
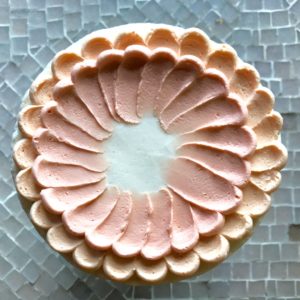
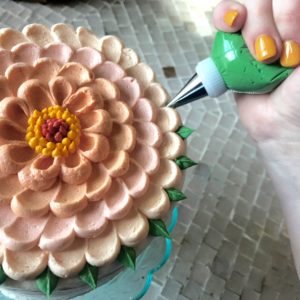
Crumb coat your cake then let it set up in the fridge for 15 minutes. If you plan to fully frost the cake, go ahead and do that now. Or, just leave it semi-naked on the sides. The only part of the top that will show are the edges so make sure they look neat enough for your standards. Pipe dollops of frosting around the perimeter of the cake (detailed directions in the captions below). You may wish to go for an ombre effect by adding a drop or two of food dye to the bowl before each concentric ring. I like the way it looks but it’s totally optional. Be sure to leave two small portions of frosting aside for the center and the leaves.

Some Tips For Making A Gorgeous Zinnia Cake:
- Keep it simple. Pick a simple color scheme and leave the sides plain. This will keep the focus on the pretty top and your delicate handiwork.
- I like how the leaves overhang the edge of the cake but they are a bit fragile. If you’re going to be transporting the cake or storing it for awhile, consider making your flower a bit smaller so the leaves will fit on the top and not get knocked off accidentally.
- This should work for any sized cake and would probably make cute cupcakes too if you have the attention span for that!
- If you want to use piping tips for every step, you’ll need a large round tip, a small round tip and a small leaf tip.
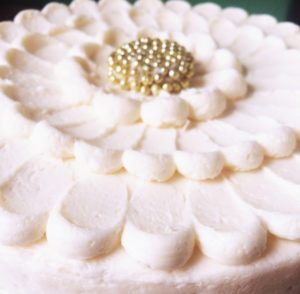
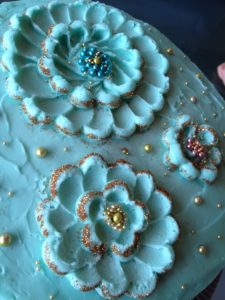
- You can fill the center with sprinkles or dragees if you like. Both ways look fancy and fun.
Beautiful. Looks delicious and doable.
Beautiful!!
Wow! what a superb idea, and looks very attractive. Hopefully, I will have the patience to have a go at replicating this lovely Zinnia Cake. Thanks for sharing.
You’ll do great. Once you get going you’ll see it is, as advertised, really simple <3
Thank for the vote of confidence – it might be sometime in January before I attempt it, as I have a friend who would love this as her birthday cake. 🙂
I love it.
It’s beautiful!!!
Thanks for sharing
Thanks Juanita <3
Gorgeous!!!!
And thank you for the instructions .
One question I have . If you were to use a piping bag do you use the same size tip for all the circles ? TIA
Yes, I use the same tip for all of the petals 🙂
OMG, this is gorgeous and simple enough that I will try this. So dramatic! Love it and perfect cake for Mother’s Day!
This looks so good! What a fun project to take on!
Thanks for sharing! Does it keep long?
Is there a recipe for the cake? I know I could decorate any cake but yours looks delicious 😉
Thank you!
Kim
This looks so good! What a fun design to make for springtime!
Thanks for sharing! Does this frosting work well for other designs?