
I’m a little obsessive about baking. You may have noticed. I’m also a little obsessed with woodgrain. You can’t throw a rock at my Pinterest page without hitting something woodgrain. And I think I finally baked up something deserving of my two loves. Look, I made a diagram: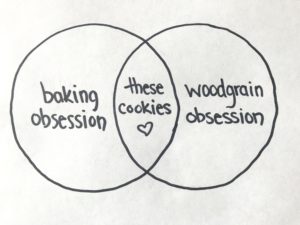
I was searching YouTube for videos on painting techniques and happened across this one on woodgraining. Super interesting that one little tool can make such varied and realistic patterns. And I got to thinking, if you can do it with paint, you can probably do it with melted chocolate! I googled around and found that a few people had already had this thought but I didn’t see anything that looked completely over-the-top. That’s where I come in.
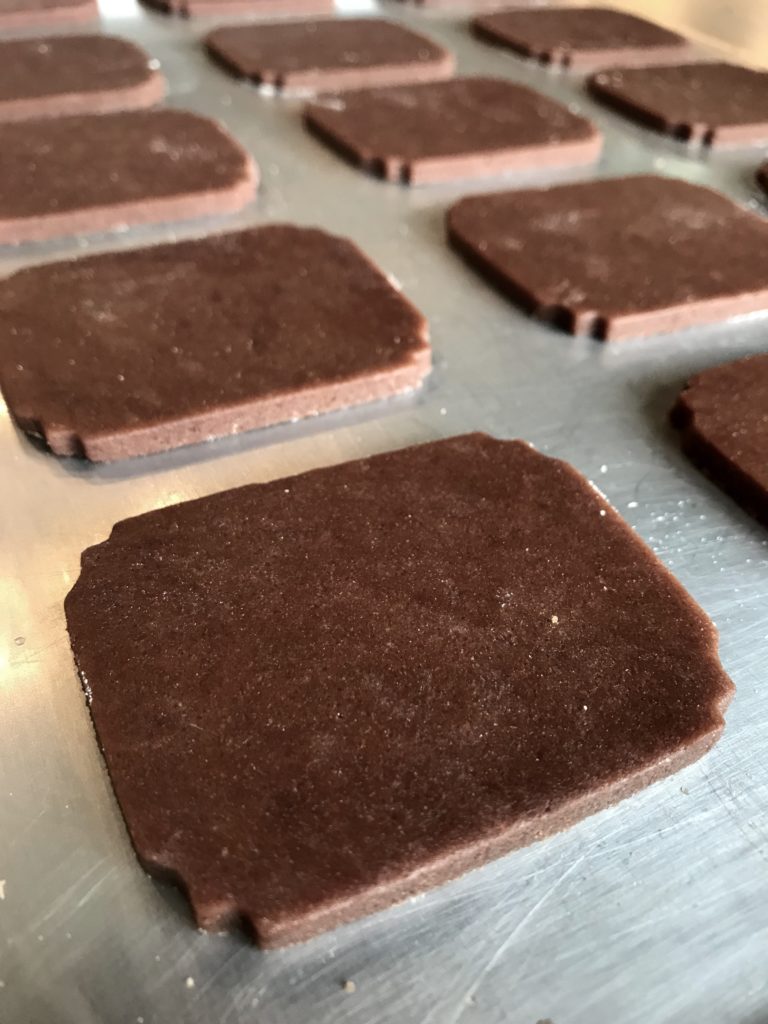
First stop was a chocolate roll-out cookie that doesn’t spread a bit and holds nice sharp edges. This is essential so that when you cut out your chocolate “veneers” you can use the same cutter you used for your cookie and they will fit the cookie perfectly. Then I chose a smallish plaque cutter so they would look like they were ready for your bowling trophy or prized taxidermy. So, you’ll need a batch of baked cookies.
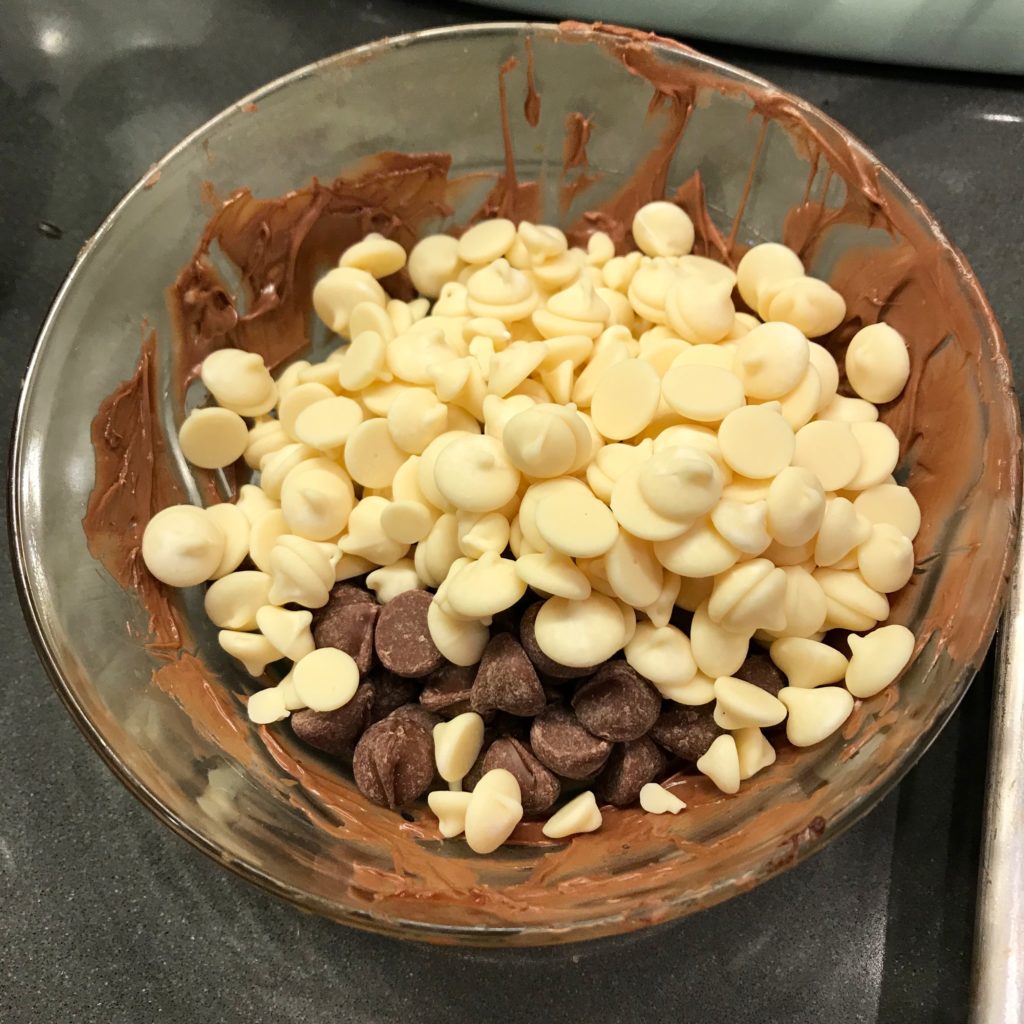
Now here comes the tricky part: You’ll need some acetate. I used these 3″ cake collars, but you could use any shape and size of acetate you want I think. I liked that these were about the same width as the woodgraining tool. The acetate ensures that the finished surface of the chocolate is perfectly smooth and shiny without tempering. You’re also going to need to melt two bowls of chocolate. One will be the darker color (I used semisweet) in the woodgrain and will be applied first. The other will be lighter (I used a mix of white and milk chocolate) and will go on second.
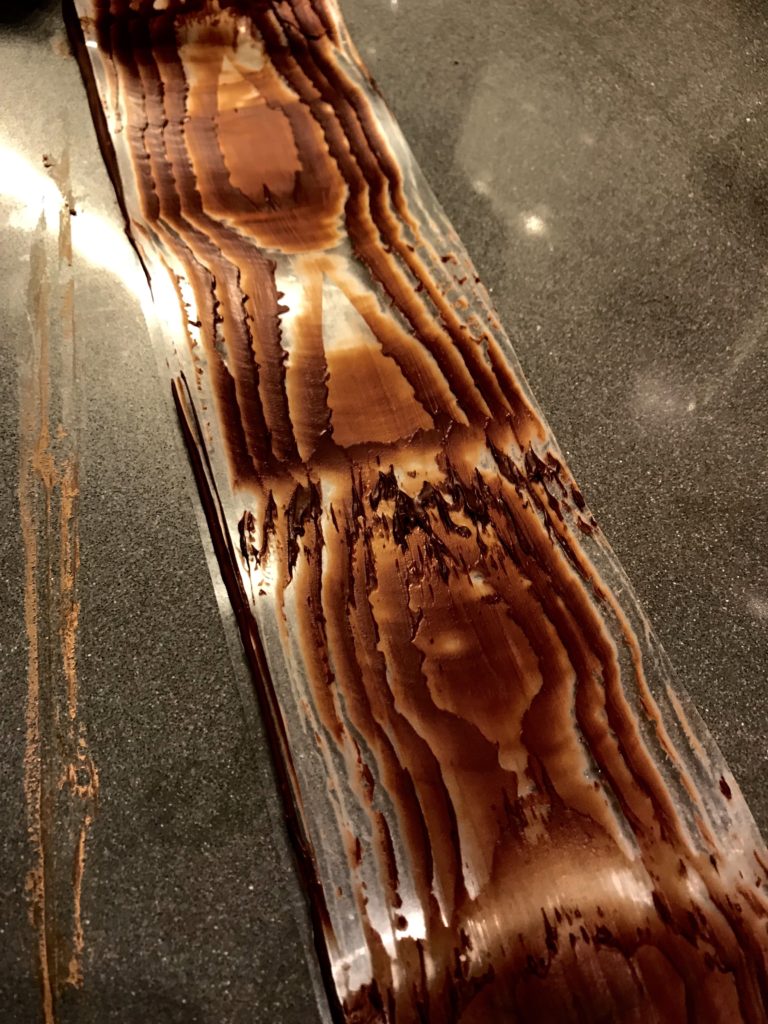
Spread some of the semisweet chocolate along the length of your acetate (use a strip that will fit on a cookie sheet). Then take your woodgraining tool and pull the chocolate across the strip while slowly rocking the woodgraining tool back and forth. You may need to practice a few times. Wipe any excess chocolate off of the tool as needed. If you get confused, like I did, refer to the YouTube tutorial I linked above. When you’re done, your strip will look like this:
Place the strip in the freezer for 5 minutes, or until it is set and firm. Take it out of the freezer, then with a spoon or offset spatula spread a thin layer of the lighter chocolate over the top of the darker chocolate. Be careful not to go over the same area more than once. The warmer chocolate will melt the chocolate underneath and if you disturb it you will smear the pattern. Then return the strip to the freezer until it is just set. Don’t let it get too cold or it will be too brittle to cut into your plaque shapes. Peel the acetate off of the chocolate and set it on your sheet shiny side up. Use your cutter to cut out as many shapes as you can. Don’t worry if a few break, that’s the cost of doing business.

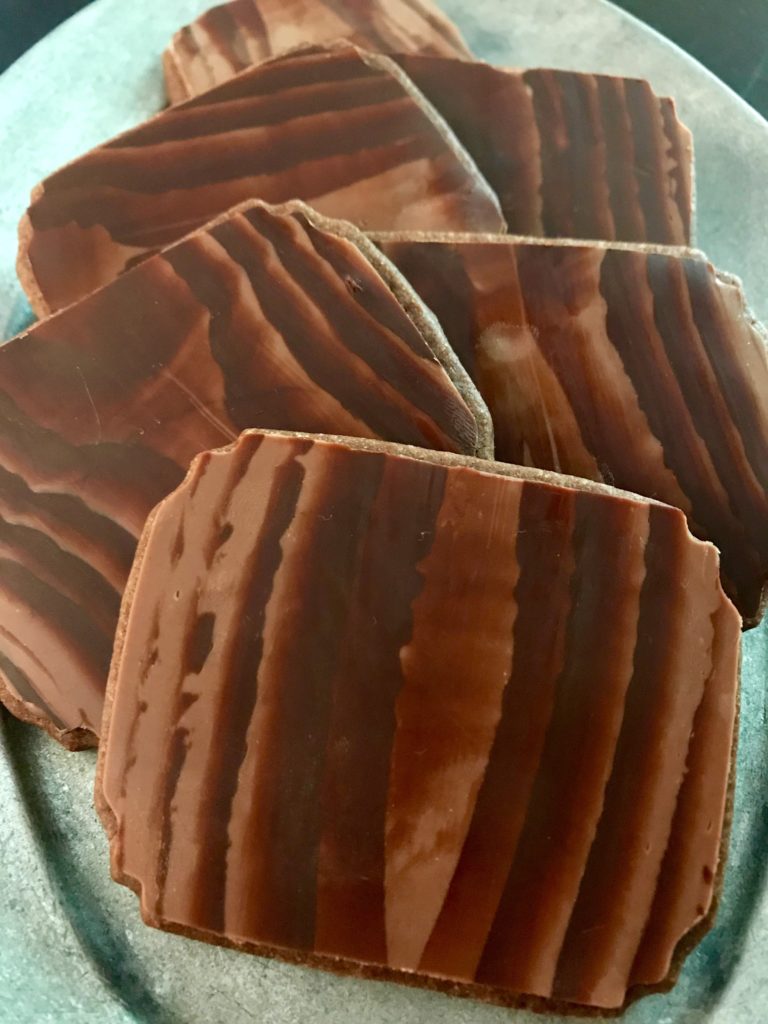
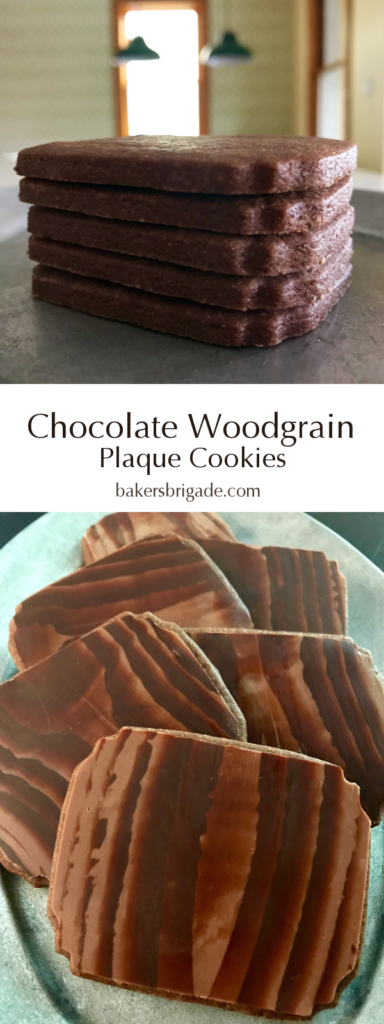
Working one cookie at a time, take a bit of melted chocolate and spread a very fine layer on top. Then drop a veneer onto the cookie and press very gently until it is adhered. Voila! Beautiful, delicious, “how-did-you-do-that?!?” woodgrain cookies.

| Servings |
cookies
|
- 2 sticks unsalted butter
- 1/4 cup vegetable shortening
- 1 1/2 cup sugar
- 2 eggs
- 1 teaspoon vanilla extract
- 1 teaspoon almond extract optional
- 3 cups all-purpose flour
- 2/3 cup cocoa powder
- 1 teaspoon salt
- 1 teaspoon baking powder
- 16 ounces assorted chocolate chips I used semi-sweet, milk, and white chocolate
Ingredients
|
|
- Microwave the semisweet chocolate in a microwave safe bowl at 30 second intervals on half power, stirring in between intervals until the chocolate is s both and melted. Do the same with a mix of milk and white chocolate. Do not get any water into the mixture or it will seize and become unworkable.
- Cut a piece of 3" acetate to the length of you cookie sheet. Tack one end of the acetate to the sheet with a bit of melted chocolate. using a spoon or offset spatula, spread a few teaspoons of melted semisweet chocolate along the length of your acetate. Using a woodgraining tool, pull the chocolate across the acetate, rocking the tool back and forth slowly as you go. You can repeat this step if you're not happy with the effect. Scrape any excess chocolate from the woodgrain tool if necessary. Place the acetate, still on the sheet, in the freezer for 5 minutes, or until set and firm. Remove from freezer. With a spoon or offset spatula, spread the melted milk and white chocolate over the woodgrain pattern in a smooth layer. Try to work quickly and don't go over areas multiple times, it may smear the pattern underneath. Place the strip back in the freezer for 5 minutes, until just set.
- Turn over your strip and remove the acetate. With the same cutter you used for your cookies, cut out pieces of chocolate "veneer" being careful not to handle them too much. If the heat from your hands is melting the chocolate, try wearing some latex gloves.
- Working one cookie at a time, spread a thin layer of melted chocolate on the top of each cookie and drop a veneer onto the top, pressing very gently to get it to adhere. Let cool. Finished cookies can be stored in an airtight container for up to two weeks.