
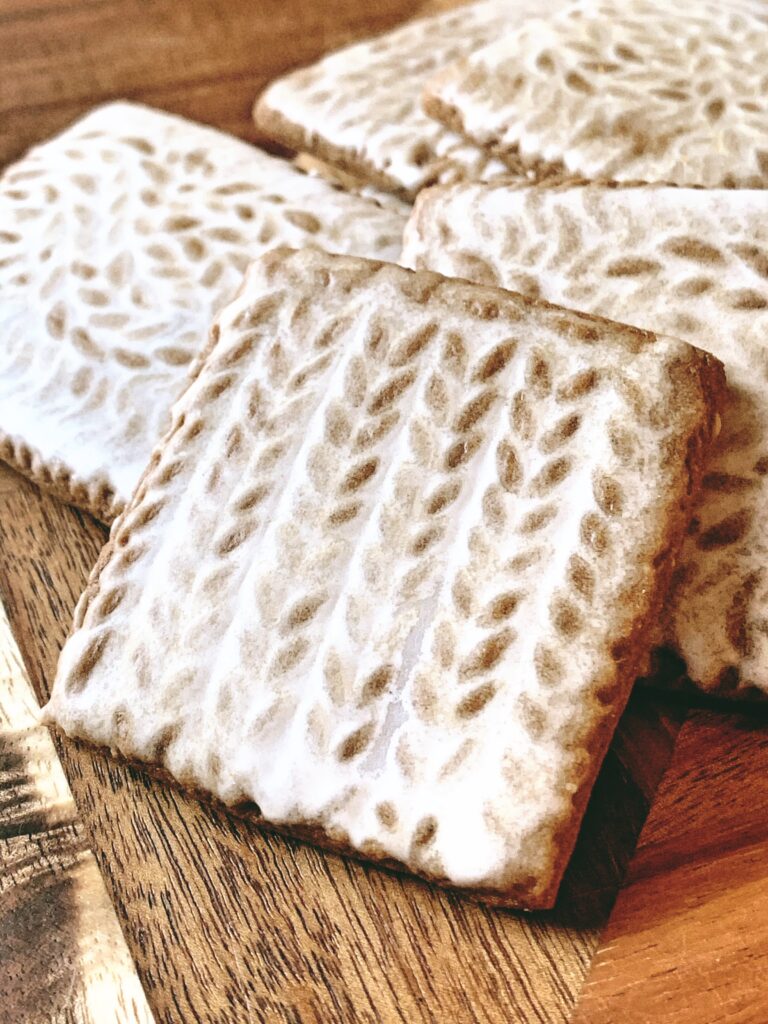
Glazing your gingerbread cookies is a deceptively simple way to create delicate and impressive patterns on your gingerbread cookies. The textured dough, once baked, gets brushed with a simple powdered sugar glaze and allowed to dry and crystallize.

This Recipe is Versatile!
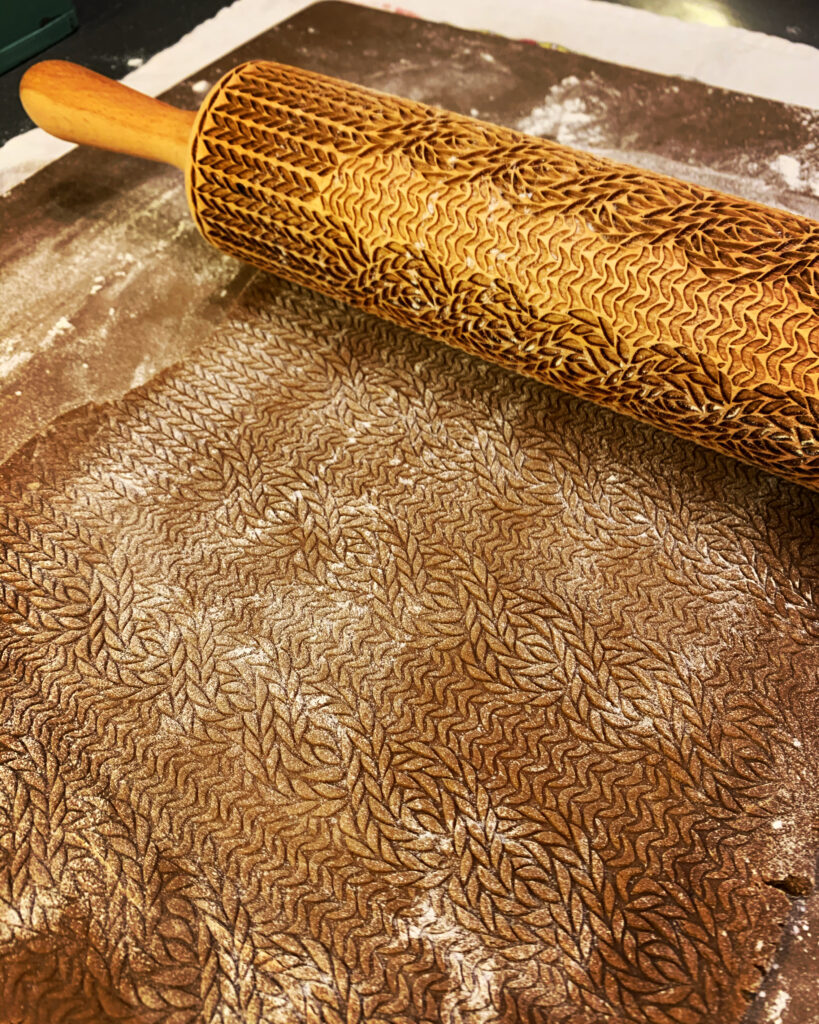
There are so many ways to try out this technique: use that textured rolling pin you bought on Etsy and have used twice (guilty!), a cookie stamp, or anything you have in your kitchen with a texture. Even the patterned bottom of a drinking glass makes a nice impression. You can cut these out with cookie cutters or just cut into squares with a knife or pizza cutter. The possibility are endless!
Some Tips for Great Glazed Gingerbread Cookies:
- This recipe makes a cookie that is soft in the center and crisp at the edges. If you prefer a softer cookie, I’ve heard good thing’s about the Tartine version, Soft Glazed Gingerbread, but I’ve never tried it. I just like my gingerbread recipe too much. Orange extract and white pepper makes the best gingerbread ever!
- Use fresh spices if you can. These make your whole house smell like Christmas died and went to heaven then came back to life as a cookie. The more potent the spices, the better your Christmas afterlife of a cookie will be.
- Let the dough chill overnight. Cold dough is essential to getting these rolled out easily and getting the impression on the dough stay sharp when baked.
- Definitely put these in the freezer for at least 5 minutes in between cutting out and baking. If the dough is too warm, the pattern on the top of the cookie will disappear. Boo! You want a nice crisp pattern on top, it’s what makes these cookies special. Plus, you bought that textured rolling pin
and you definitely cannot justify that if you can’t even see the pattern.

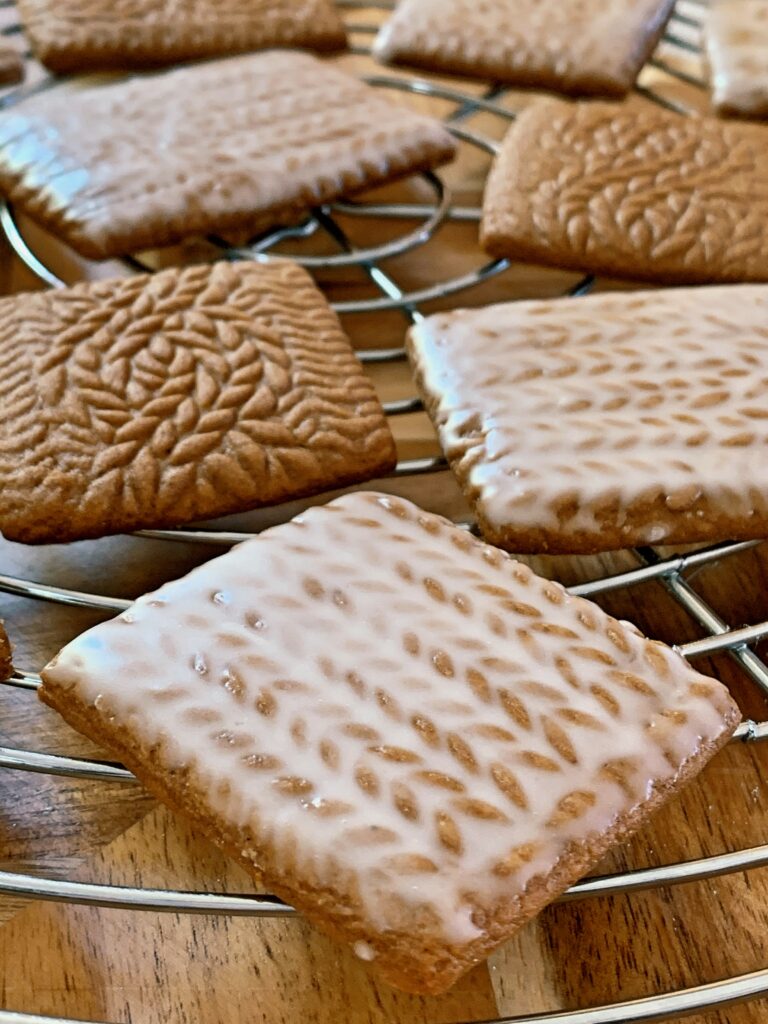
- A thin layer of glaze is best for these. The icing should settle into the low parts of your pattern, creating a two-tone effect.
- Let these dry for four hours before stacking or storing. They should last for a few months in the freezer in an airtight container. Just be sure to let the container come to room temperature before opening it up so that condensation doesn’t ruin the shiny finish of the icing or make your cookies soggy.
More Holiday Treats From Bakers Brigade:
- Chewy Chocolate Espresso Cookies
- Dark Chocolate Peppermint Mousse Tart
- Eggnog Snickerdoodles
- Orange Cardamom Snowflake Cookies

| Servings |
cookies
|
Ingredients
- 1 cup unsalted butter softened
- 1 cup sugar
- 1 1/4 cup mild-flavored molasses I like Brer Rabbit brand
- 2 eggs
- 1 teaspoon vanilla extract
- 1 teaspoon orange extract
- 5 1/2 cups flour
- 1 teaspoon baking soda
- 1 teaspoon salt
- 2 teaspoons ground ginger
- 3 teaspoons ground cinnamon
- 1 1/2 teaspoons ground cloves
- 2 teaspoons ground nutmeg
- 1/2 teaspoon ground white pepper
- 1 cup powdered sugar
- 2 tablespoons water
Ingredients
|
|
Instructions
- In the bowl of your electric mixer (or with a hand mixer), beat the butter and sugar until light and fluffy (about 3 minutes). Add the eggs, molasses, vanilla extract, and orange extract and beat until combined. In a large bowl combine flour, baking soda, salt and spices. Add the flour mixture to the wet ingredients and beat until you have a smooth dough. Divide the dough into thirds and wrap each third in plastic wrap. Refrigerate overnight.
- Preheat oven to 375 degrees.
- Remove one third of the chilled dough from the refrigerator and, on a lightly floured surface, roll out the dough with your regular rolling pin to a thickness of 1/4 inch (1 cm). Keep turning the dough and keep it lightly floured as you roll, making sure the dough does not stick to the counter. Use your patterned rolling pin to create texture on your dough. You can also use a cookie stamp if you prefer, or anything that will leave a texture for the glaze to settle in! Use enough pressure to leave a pattern but not enough to significantly thin the dough. Cut your dough into 2-3" squares with a knife or pizza cutter and transfer cookies to baking sheet. Place the baking sheets with the unbaked cookies in the freezer for about 5 minutes to chill the dough which prevents the cookies from spreading and losing their shape while baking.
- Bake cookies for about 8-10 minutes or until the edges are just starting to brown. Remove from oven and let cookies cool on baking sheet for a few minutes before transferring to a wire rack to finish cooling.
- Make the glaze by mixing the water and the powdered sugar together. Using a pastry brush, brush the tops of the cookies with a thin layer of glaze. Allow the glaze to dry completely before stacking.
Share this Recipe
While the cookies are baking, prepare the glaze. In a small bowl, whisk together the confectioners sugar and water until smooth. When the cookies are ready, remove from the oven and let cool on the pan on a wire rack for about 10 minutes. Then, while the cookies are still warm, using even strokes, brush a light coat of glaze on the top of each cookie, evenly covering it.
Hi Иван! Yes, this would be a good way to do it too <3 I believe these are the directions from the Tartine cookbook (verbatim!). She has a lovely soft gingerbread cookie that has a glaze on the top. These cookies use the same glazing technique but are a bit more crisp and not soft and cakey. I can never quite time it right to put the glaze on when the cookies are warm (too many distractions!) but have found this works just fine with completely cooled cookies.
I bought the same rolling pin last year but life got too busy to use it. I love your cookies and plan to use the rolling pin soon. Thanks for giving me inspiration and sharing your baking.. This is my go to recipe and instead of baking a cookie tray , Ive decided to just bake these as xmas gifts. xo
Lovely! Happy baking 🙂
I enjoyed the cookies and so did the office! I’d love to know where you got your rolling pin as the “knit” pattern is lovely.
Oh, I’m so glad to hear that! I got my rolling pin off of Etsy. The exact one I used is sold out, but if you search “rolling pin knit” lots of other options come up 🙂
Thanks for the recipe. The cookies taste great. I bought a patterned rolling pin and pressed hard on the dough but once it baked, the pattern disappeared. I put the unbaked cookies in the freezer for 10 minutes Effie baking. I’m bummed. I’m too embarrassed to give these as gifts so I will be eating my shame in private LOL
I would like to try again, any other tips for getting the pattern to stay sharp?
Oh no, sorry to hear that! I think a bit more flour would help. Dough should be soft but not sticky. Sorry this didn’t work for you, I hope you’ll try again. I just made a batch of these today 🙂