
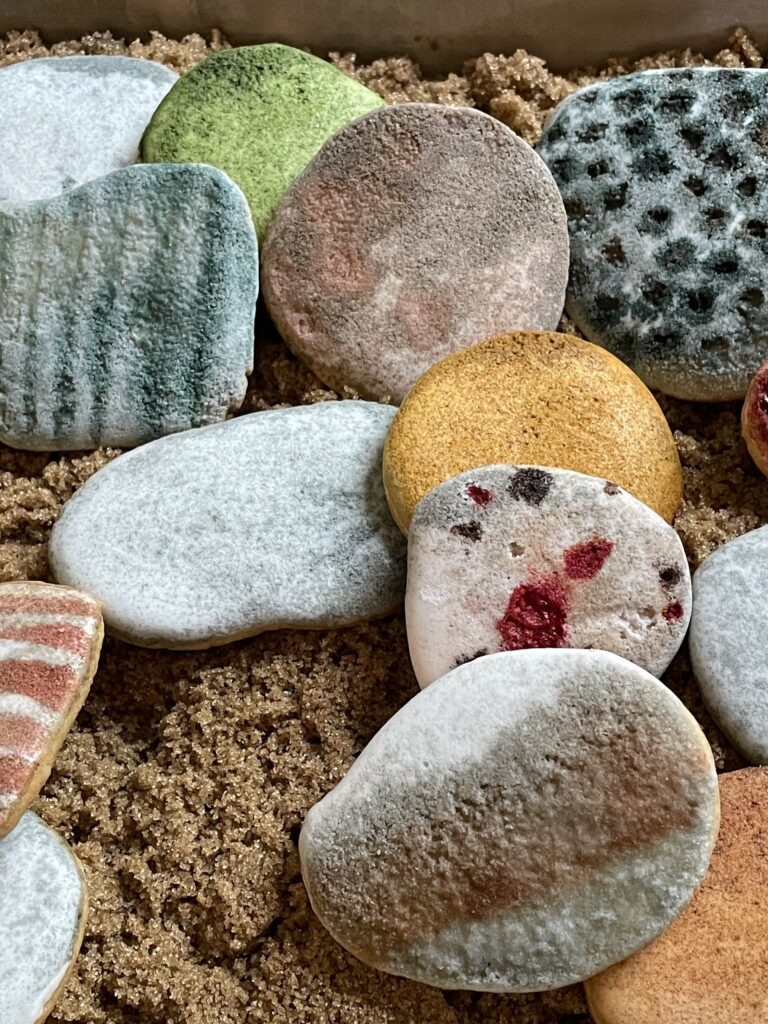
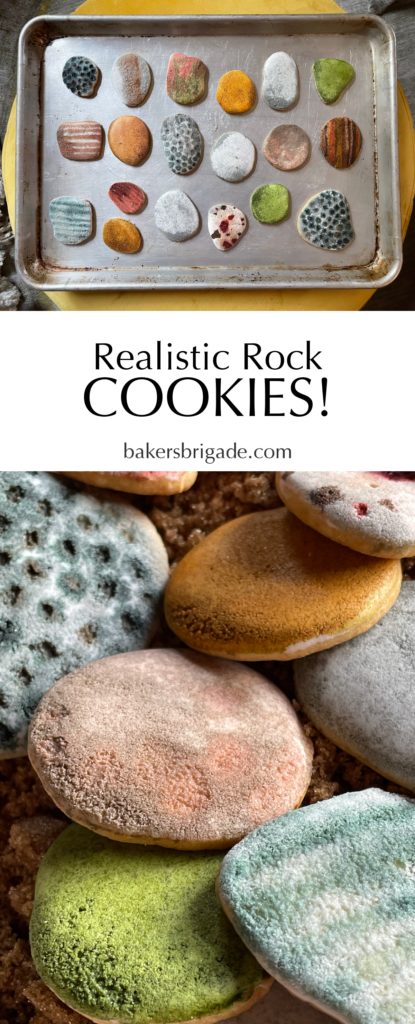
These realistic rock cookies are so fun and surprisingly straightforward and forgiving to create! Once your cookies are baked and dipped in royal icing, you dilute food gel dye in vodka and just sweep, dot and stripe the cookies willy nilly. The surface of the icing is eaten away by the vodka, roughening the surface. These would be a great gift for the rockhounds in your life, or people you secretly think should eat rocks. Win-win!
Rocks Rock!
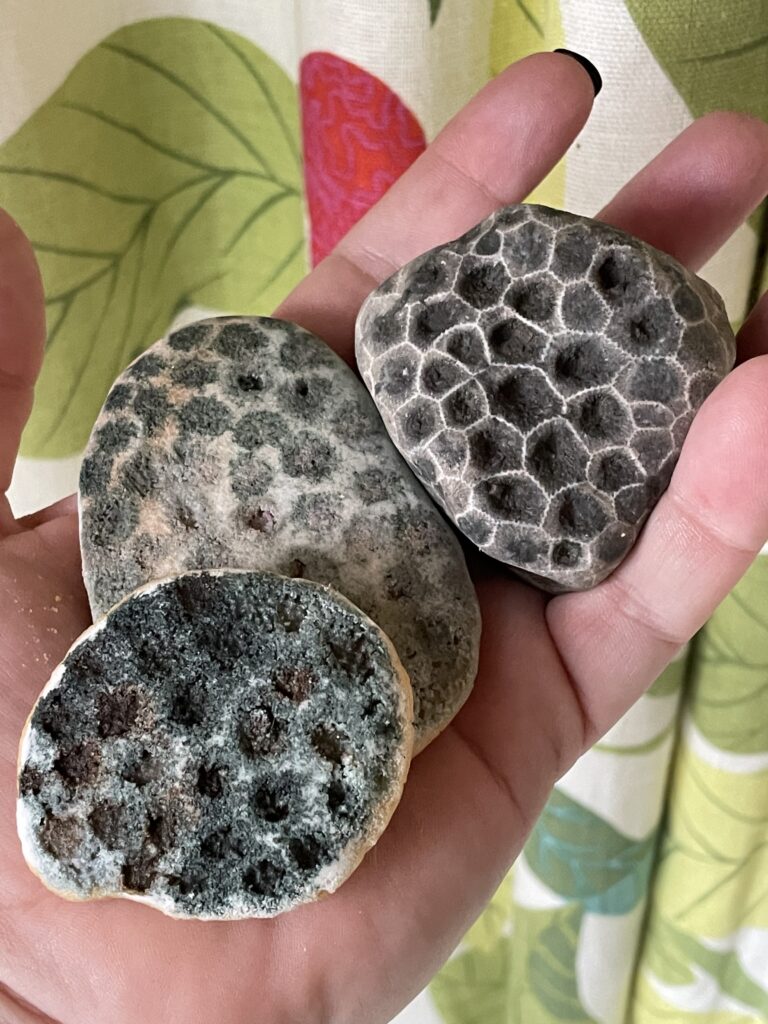
A few years ago, my husband and I started a short-term rental in Michigan about an hour north of Traverse City. It’s a great place and when I’m not there I miss it, like sit-around-and daydream-about-it miss it. I could spend hours looking out at the water, walking the beach, and listening to the waves. And since I am an overly-enthusiastic dork, I also got REALLY into collecting and identifying the rocks and minerals that I find there. We find all sorts of Devonian Era fossils like Petoskey stones, honeycomb coral, and sea sponges (these all have fancy scientific names but I am going to sit on my hands and not blurt them out).
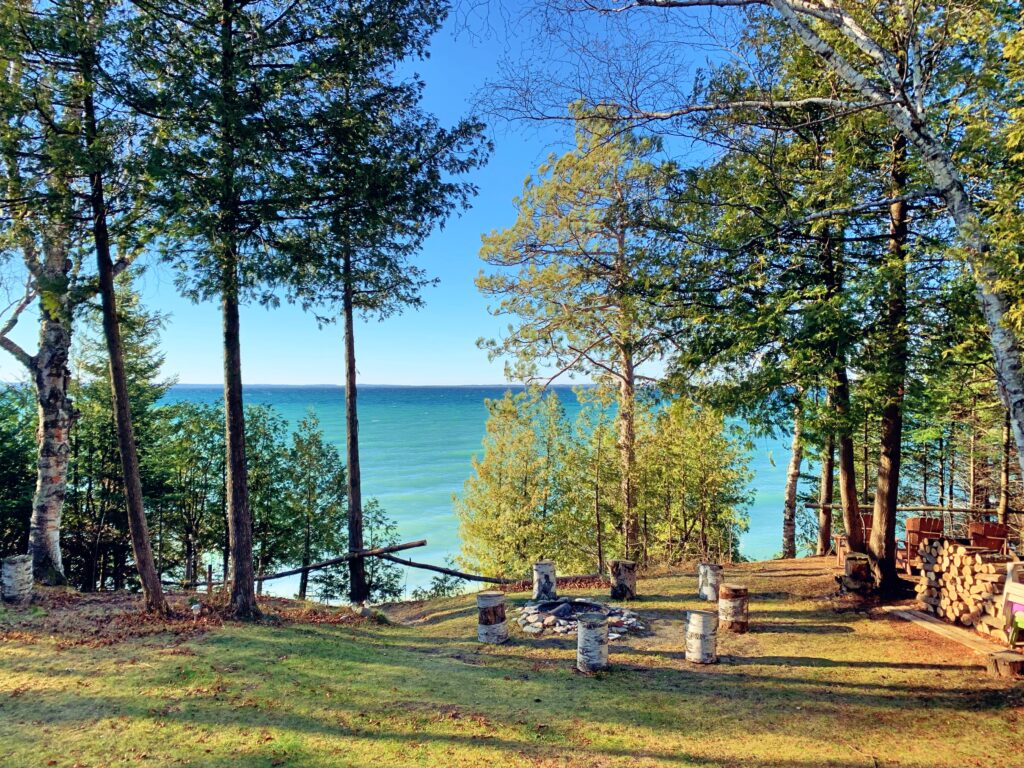
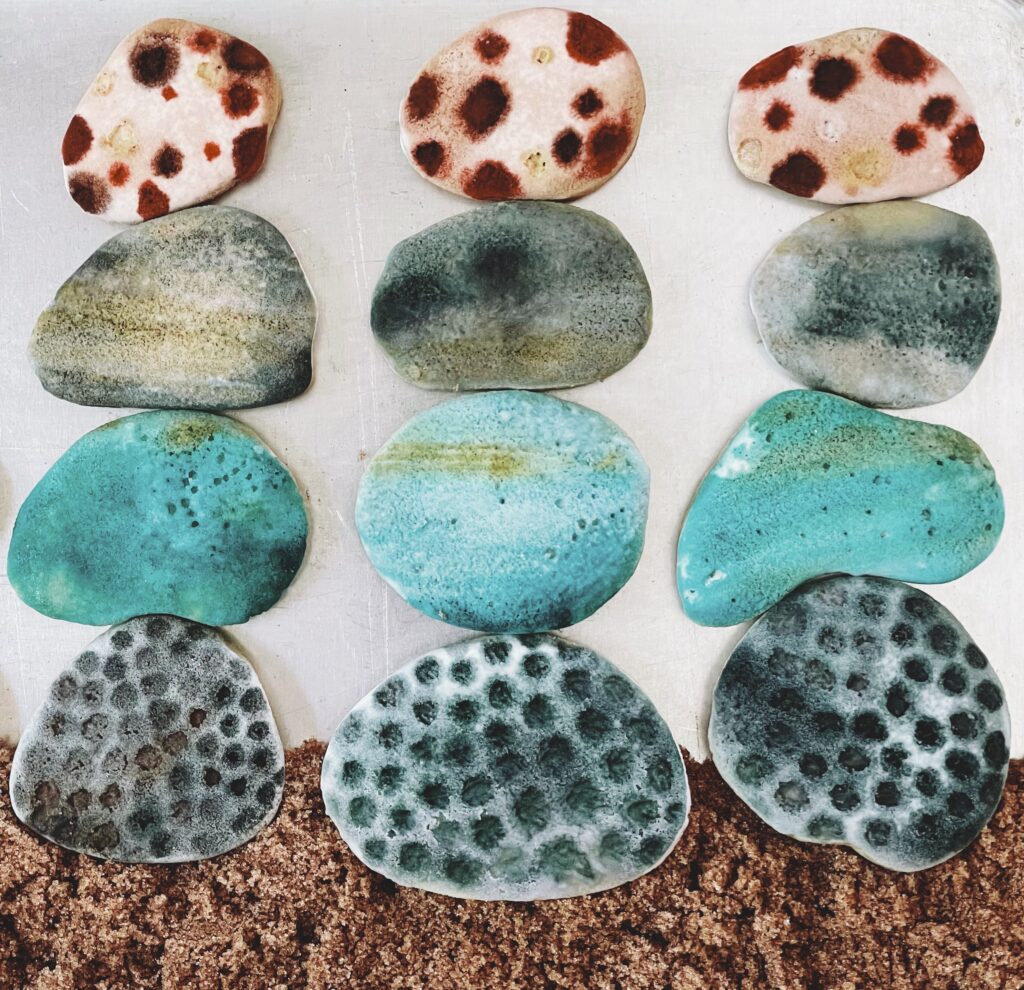
We find rocks of all colors shapes and sizes: A pudding stone flecked with billion-year-old pieces of jasper. A dusty rose colored, polka-dotted sandstone called Jacobsville after the town where it’s found in abundance. Large tumbled hunks of chalcedony in shades from dandelion yellow to burnt orange. Plus lots of stripy chert, brilliant green epidote, and pink feldspar. The variations are endless and so are the miles of beaches.

The Great Cookie Experiment!
This year for Halloween, I decided to make moon cookies. I thought about lots of different strategies, stenciling them or doing a wet-on-wet technique with different shades of gray. But ultimately I decided to paint them. I looked up some tutorials on YouTube to get just the right effect with watercolors. Many cookiers (I swear that’s a word) dilute their food dye with clear vanilla extract but I didn’t want to add a bunch of artificial vanilla flavor so I used vodka instead. This created two problems and one unintended solution.
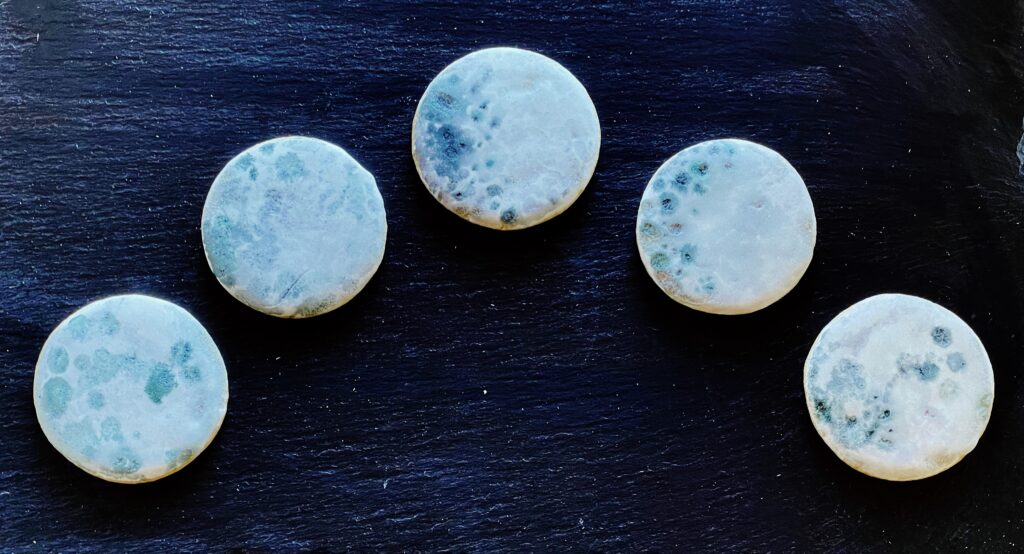
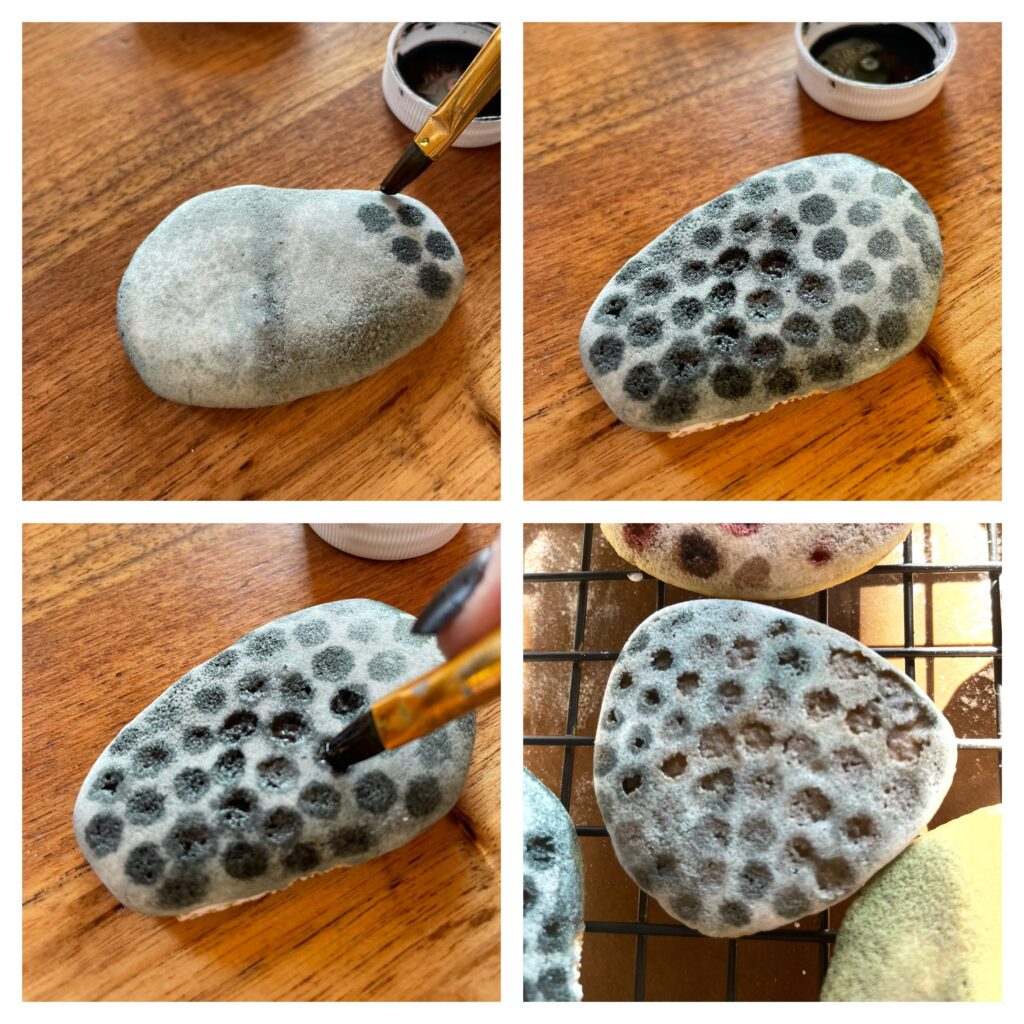
The first problem was that, unlike watercolor on paper, the vodka mixture was not just sitting on the cookie waiting for me to whoosh it around. It basically got absorbed the second it touched the icing and was immovable. The second issue is that it was eating away the smooth finish, leaving a rough, textured finish instead. The third thing, which turned out to be the game-changer, was that if I left my brush in one place too long, with too much dye/vodka on it, that spot would entirely collapse. And that actually looked pretty cool! It looked like little moon craters. So it wasn’t a slam dunk but I was pretty happy with my sugar moons.
I sent a few pics to the friend who kindly lent me her black food dye (thanks pal!) and she responded that she wasn’t sure if they were moons or Petsoskey stones. This particular friend is also an overly-enthusiastic Michigan rock dork. And that gave me a whole new idea…realistic rock cookies!
Realistic Rock Cookies…Rock!
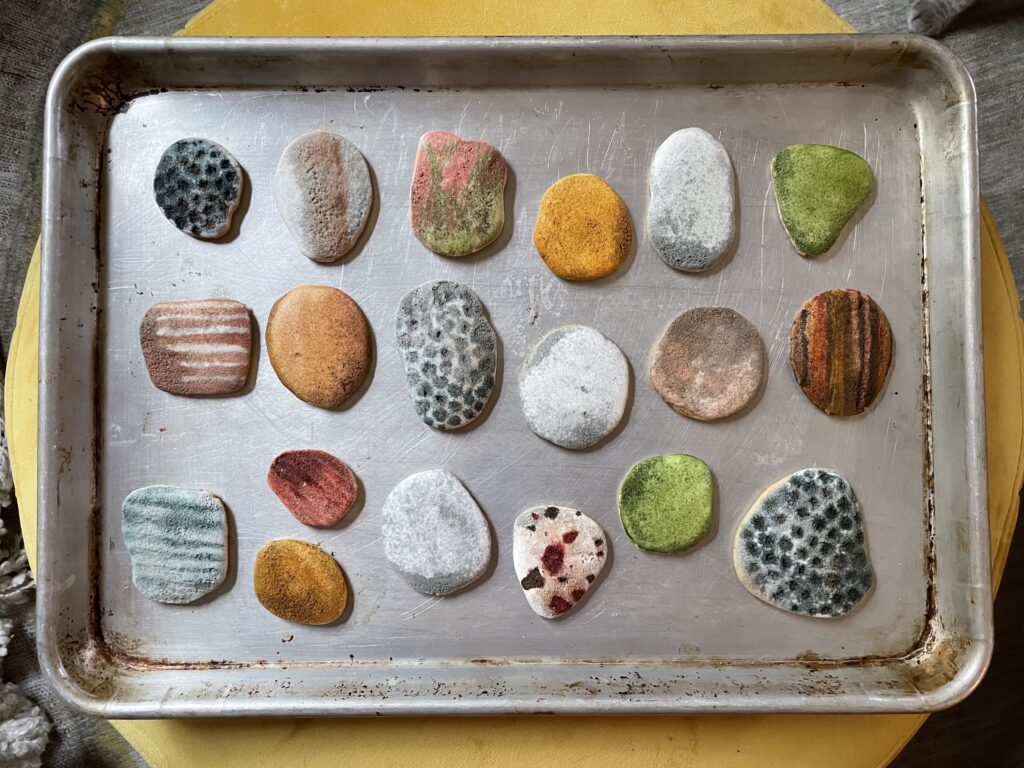
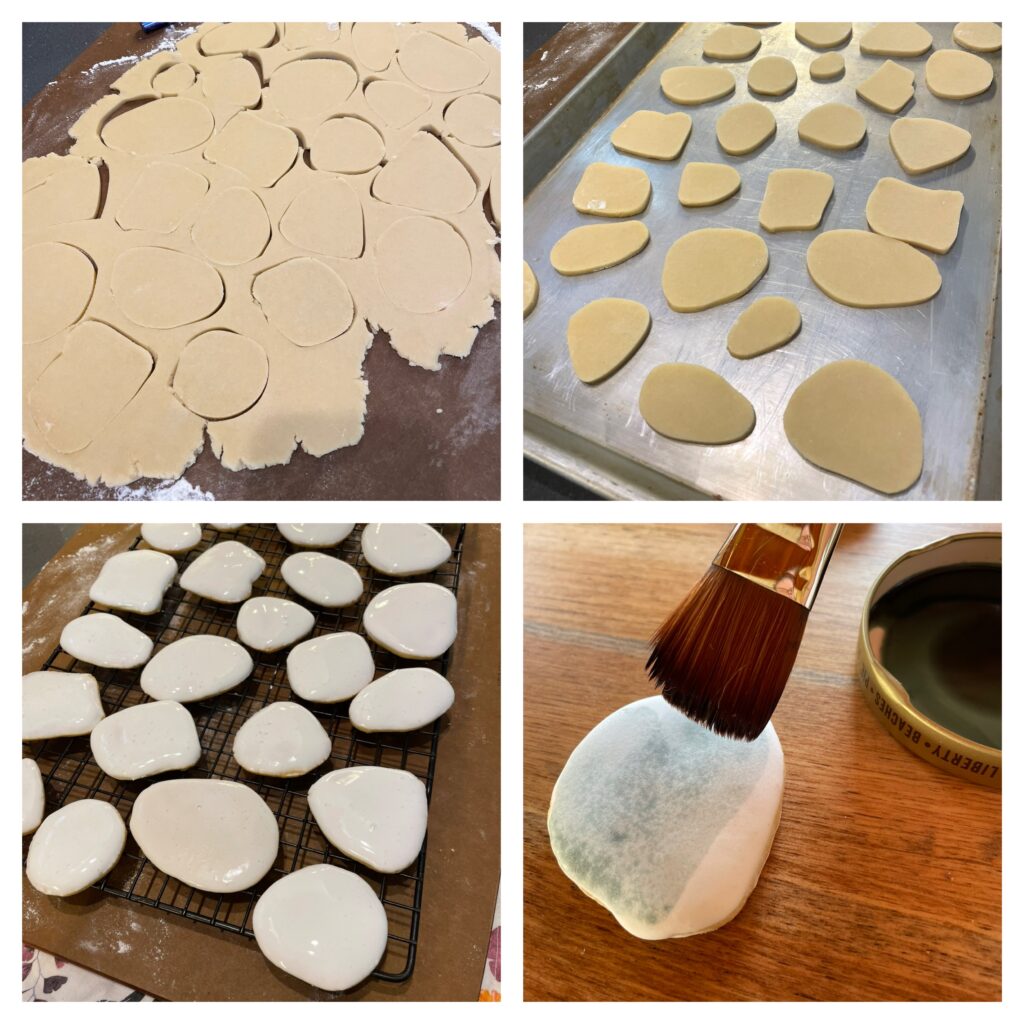
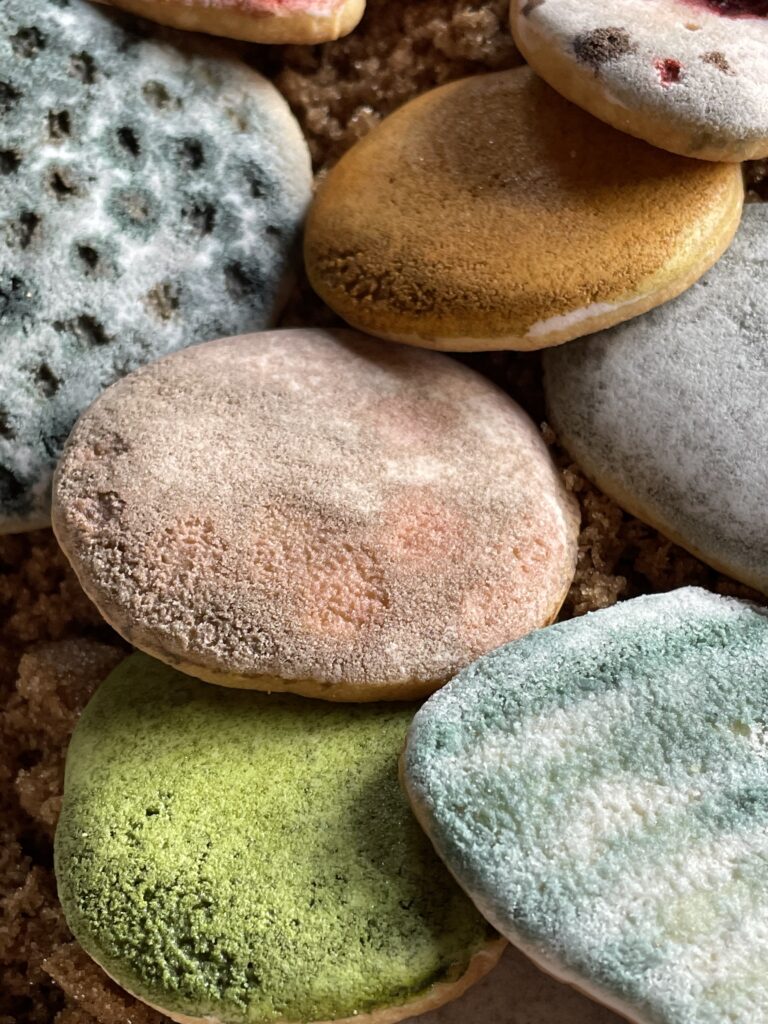
So I got out all my food dyes, a bazillion little bowls and brushes, and a bunch of my favorite rocks and got to work. Below are some photos of the process but it’s a very straight-forward technique. Bake and frost the cookies, then let them dry overnight. Sweep a diluted mixture of food dye, probably best to start with gray or brown, across the cookie and see what happens.
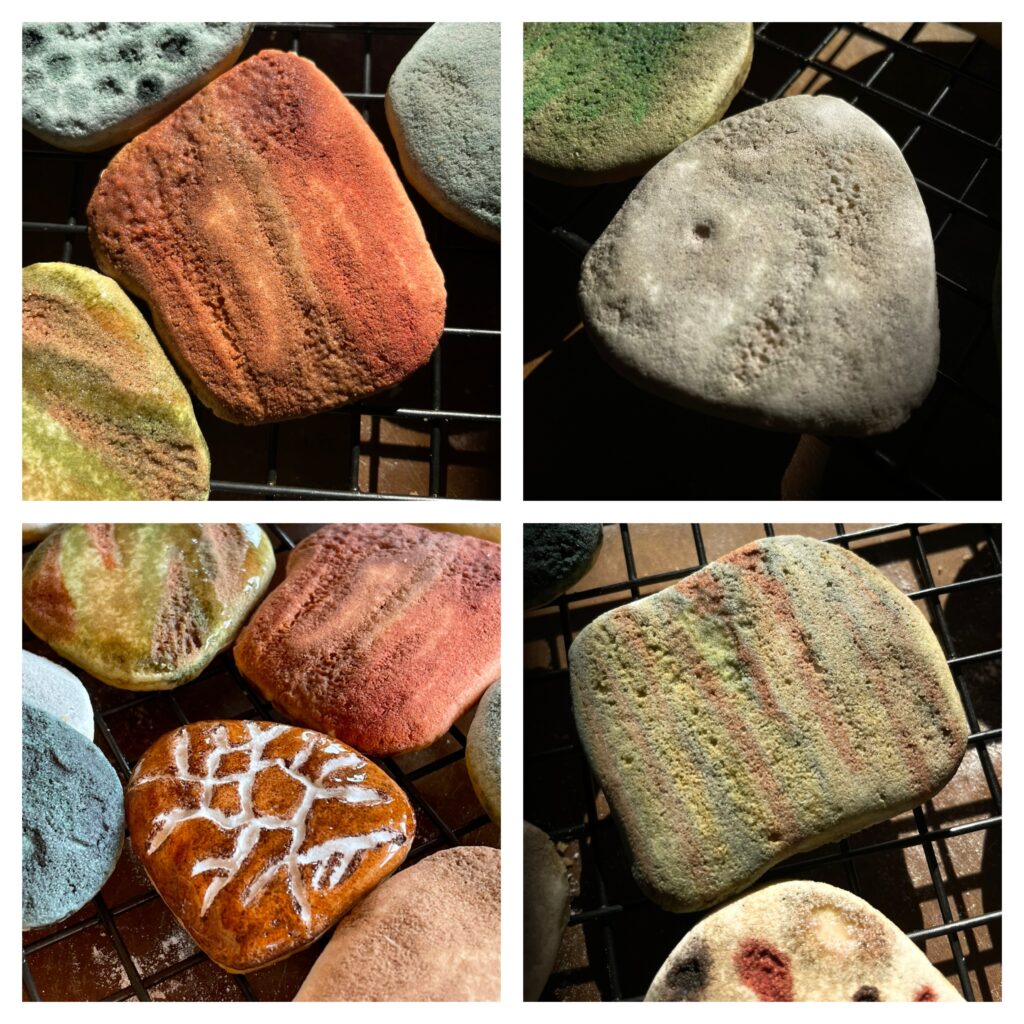
Then, using a mixture of intuition, reckless abandon, and witchcraft, go in with additional layers and colors. Use different brushes, experiment with making little pock marks by holding the brush in one spot until the icing dissolves.
Really go nuts with it. You may have a few you’re not so pleased with. Eat those first. But even just the single color, grey ones look pretty realistic and will be very satisfying to look at.
Some Tips For Amazing Realistic Rock Cookies Every Time:
- Don’t overthink it. There are so many variations in rocks found in nature, the less you plan the more realistic they probably are.
- Don’t try to keep your colors too pure. Adding a bit of gray or brown to your other colors will literally “tone” them down, making them look more real.
- DO get some gel food dyes. You will need to get more nuanced colors then just the McCormick primary or neon colors. Make sure you have a black, a brown, a red, and a green. I also used a bit of orange and yellow.
- Take a look at the rocks in your collection to get ideas for shapes, colors, patterns. I chose rocks specific to Michigan, but I could see some cool variations with Sedona’s red rocks, Utah’s jasper, or even sea glass.
- Let me know if you figure out how to make a granite cookie. I tried but just could not get it to look “right”. It’s my white whale. I guess it’s my speckled whale.

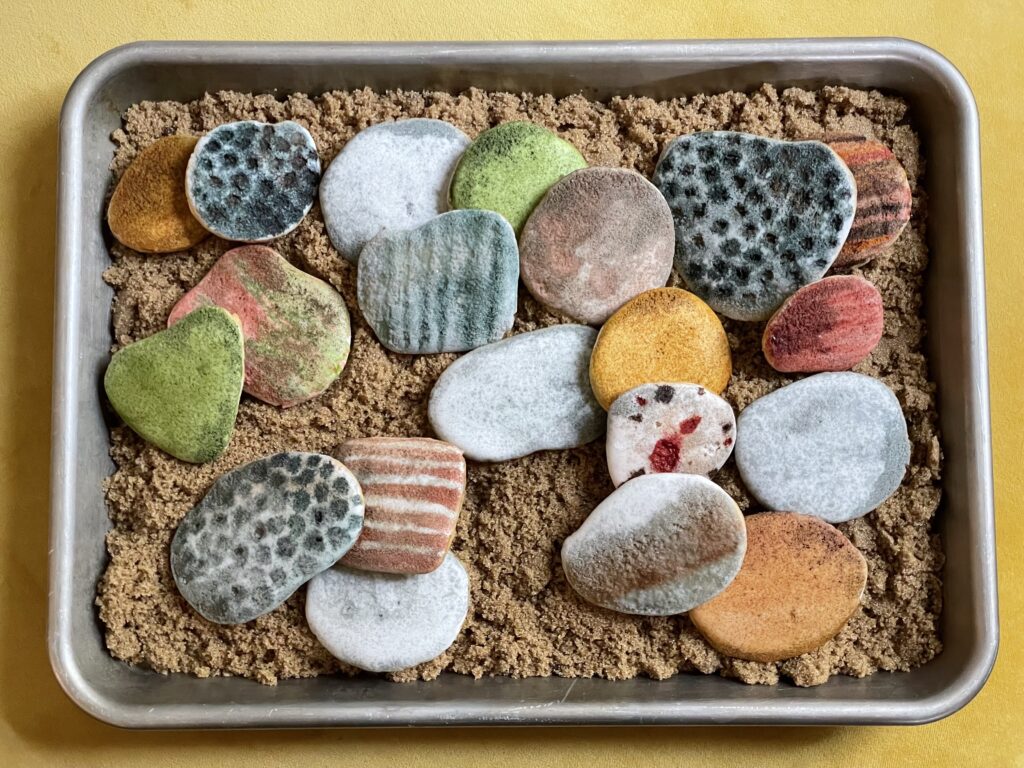
- Brown sugar (light or dark or even turbinado) makes a lovely sandy backdrop to serve and display your cookies.
- Don’t forget to eat them! I spent so much time staring lovingly at mine, I almost forgot to eat them. Learn from my mistakes and dive right in.
More Baking Witchcraft from Bakers Brigade:

| Servings |
cookies
|
- 1 pound confectioner's sugar (about 3 3/4 cups)
- 3 large egg whites
- 1/2 teaspoon cream of tartar
- 1/8 teaspoon salt
- assorted gel food dye I like Americolor gel food dye
- vodka
Ingredients
Royal Icing
|
|
- In the bowl of a stand mixer, combine the confectioner's sugar, egg whites, cream of tartar, and salt. Using the whisk attachment, beat until stiff and glossy.
- Add water, just a tablespoon at a time, until it reaches the 11-second stage (where a ribbon of icing across the mixture takes 11 seconds to completely flatten). It will be the consistency of shampoo.
- Put 1/2 the icing in a wide, flattish bowl. Dip the cookies one at a time, gently dragging the excess icing onto the edge of the bowl. The icing will dry out quickly, so keep covered when not in use and add water as needed. If it separates, just give it a good whip before using and it will come together again. Set onto cookie sheets to dry overnight.
- Once completely dry, decorate the cookies. You will need multiple small bowls to mix the colors and the vodka. Brush the cookie with food dye diluted with vodka. You can experiment with waiting for the first coat to dry then going back in to add more color, or just applying layer after layer. The vodka will slowly eat away and roughen the icing. To get a pitted appearance, hold the brush in one spot a bit longer until the vodka collapses the icing.
- Let dry completely.